Web Snippets
- What are Web Snippets?
- Web Snippet Architecture
- Creating Web Snippets
- Reference: cms-websnippet-config
- Examples
What are Web Snippets?
Web Snippets are HTML blocks that can be inserted into a CMS Page. Web Snippets are different from Components, in that Web Snippets are converted into regular Page Editor content as soon as they are inserted, and are updated using the standard Page Editor.
Web Snippets do not have a popup for editing, and do not keep their relationship to the original code.
Web Snippets can be added to an editable area by clicking the "Web Snippet" button in the toolbar:
![]()
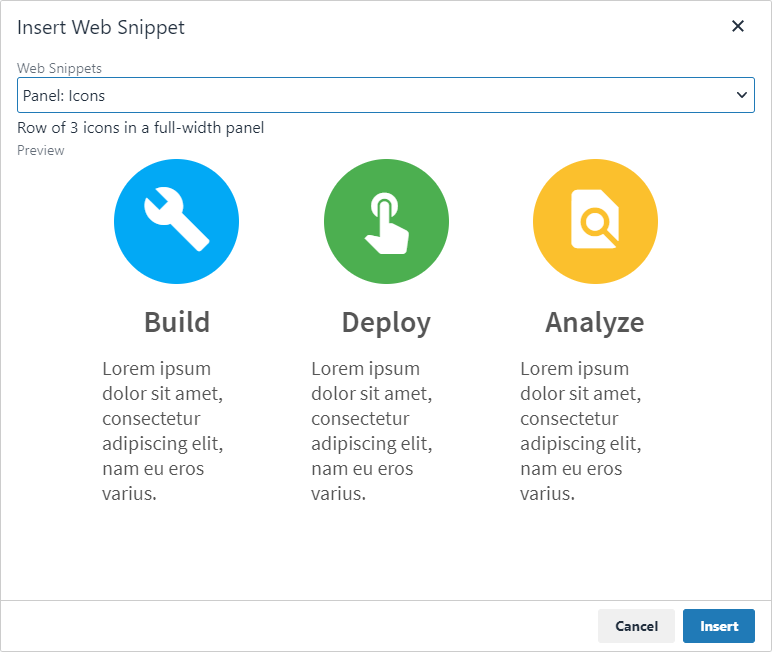
The user can then select a web snippet from the dropdown:
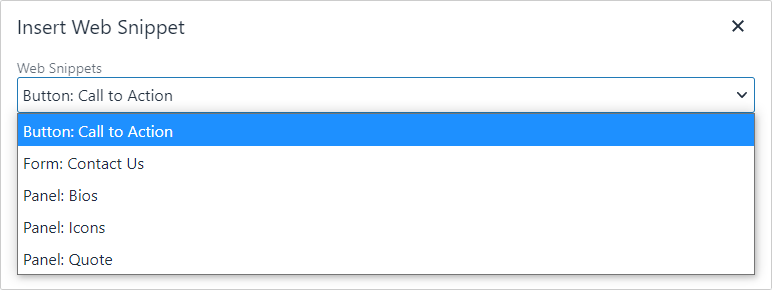
A preview is displayed for each web snippet. The user can then click "Insert" to insert the web snippet into the editable area.
Web Snippet Architecture
Web snippets can be either defined locally in the SFTP, or hosted in a remote site.
Local Web Snippets
In the standard workflow, local web snippets are defined per-site in the site's static files SFTP. The SFTP Location is listed in the Page Templates tab:
- Open the "Sites" tab
- Click "Configure Site" on the target site
- Select the "Page Templates" tab
The static files are merged with the page content on publish, and everything is sent together to the deployment target.
All the site's template-related files, such as images, CSS, and JavaScript should be placed in the SFTP folder. Below are the reserved files / folders for templates:
| /templates/pages/* | Page Templates |
| /templates/components/* | Component Templates |
| /templates/websnippets/* | Web Snippets |
| /templates/site_config.json | Site Config |
Adding an HTML file to the SFTP "/templates/websnippets" folder will automatically recognize that file as a web snippet. Web Snippets can be grouped into subfolders.
Remote Web Snippets
Web Snippets can also be completely hosted in a remote server. This can help with CMS integration into existing web applications.
First, create a web snippet listing file on the remote server:
[
  //Listing Example 1 - Web Snippet Code directly embedded in listing file
  {
    "title":"Button: Call to Action",
    "description":"Link button used as a Call to Action",
    "content":"<div>HTML Code</div>"
  },
  //Listing Example 2 - Web Snippet Code in separate file
  {
    "title":"Button: Call to Action",
    "description":"Link button used as a Call to Action",
    "url":"/path/to/websnippet.html"
  },
]
Then, reference the web snippet listing from the Site Config:
- Open the "Sites" tab
- Click "Configure Site" on the target site
- Select the "Site Config" tab
- Add the "defaultEditorConfig.webSnippetsPath" property, linking to the remote websnippet listing file:
{
  "defaultEditorConfig": {
    "webSnippetsPath": "https://example.com/path/to/websnippets/listing.html"
  }
}
In-Page Web Snippets
Web Snippets can also be defined inline within pages, using script tags. More information about In-Page Web Snippet Template Definition can be found in the Page Template HTML Tags reference.
Web Snippet Config (cms-websnippet-config)
Local and in-page web snippets can contain a "Web Snippet Config" section that defines properties such as the web snippet name and description. The Config is defined as a JSON script, and is usually included at the top of the Web Snippet code. Learn more about the Web Snippet Config in the cms-websnippet-config Reference.
Creating Web Snippets
1. Start by designing the web snippet as HTML element in an existing Page Template:
<div class="layout_2column">
  <div><p>Column 1</p></div>
  <div><p>Column 2</p></div>
</div>
Be sure all URLs are root-relative (starting with a "/").
For example, use: "/images/banner.jpg"
Do not use: "images/banner.jpg" or "../images/banner.jpg"
2. Open the Page Template in Developer mode, by going to "Edit Site", "Page Templates", and click "Preview" on the template. Make sure it looks good at different browser widths.
3. Move the web snippets's HTML into a new In-Page Web Snippet Template, by wrapping it in a "text/cms-websnippet-template" script tag:
<script type="text/cms-websnippet-template">
  <div class="layout_2column">
    <div><p>Column 1</p></div>
    <div><p>Column 2</p></div>
  </div>
</script>
4. Add a "cms-websnippet-config" section to the In-Page Web Snippet Template. Set the "title" and "description" Config properties:
<script type="text/cms-websnippet-template">
  <cms-websnippet-config>
  {
    "title": "Layout: 2-column",
    "description": "Responsive 2-column layout"
  }
  </cms-websnippet-config>
  <div class="layout_2column">
    <div><p>Column 1</p></div>
    <div><p>Column 2</p></div>
  </div>
</script>
7. Test by refreshing the Page Template in Developer mode and adding the web snippet into an editable content area.
8. Move the Web Snippet into its own file in the "templates/websnippets" folder when done (example below).
* The "text/cms-websnippet-template" script wrapper should be removed when the component has its own file
<!-- New file: /templates/websnippets/layout_2column.html -->
<cms-websnippet-config>
  {
    "title": "aLayout: 2-column",
    "description": "aResponsive 2-column layout"
  }
</cms-websnippet-config>
<div class="layout_2column">
  <div><p>Column 1</p></div>
  <div><p>Column 2</p></div>
</div>
